Hello, all!
Today I'm so excited - Amy from Diary of a Quilter has agreed to take time out of her busy life and share a tutorial with us! If you're not a regular follower of her blog, you ought to check it out - it's always inspiring!! So without further ado, here's Amy!!
Hi friends! My name is Amy Smart and I write about my quilting fetish at
Diary of a Quilter.
I felt to honored to be invited by Sarah to share an idea for the
Hands to Help Charity Quilt Challenge this year. I am so amazed and touched by all that Sarah does to not only use her quilting talents to help worthy causes, but to motivate the rest of us to do the same.
So today I'd like to share a quick project that creates a simple, but colorful quilt. This is simple enough for a beginning quilter as well as a quilt you can pull together quickly if you are an experienced quilter.
The original tutorial is for a baby size quilt, but at the end are the fabric requirements and measurements for a throw or twin-size version too. We'll also talk a little about fabric selection and how to get a good balance and variety of colors and design scales.
I made this quilt with cute, big-print fabrics in mind. Using those kind of prints, you can make a simple quilt and really let the fabric do all the design work. But you can't use ALL big prints, or the design will look muddied, so lets talk about choosing coordinating fabrics.
Fabric Selection
For this quilt I knew there would be 16 blocks so I chose 16 different fabrics. (Because I'm kind of a fabric obsessed person. It's nice to be among understanding people.) But you could use as few as 6 or 7 different fabrics and have the design just as scrappy. Most of the fabrics I used are from the collection Nest by Valori Wells for Free Spirit that came out a couple of years ago.
I chose 5 different colors for my quilt: Orange, pink, gray, green and white. Make sure you get a balanced number of fabrics per color. Notice that all my oranges aren't the same shade, nor my greens. Having different shades of the same color will give your quilt a lot of depth. Fabrics colors that are too matchy-matchy (i.e. all the greens are the same shade) will make your quilt feel flat. [This isn't necessarily bad - just depends on the look you are going for.]

Making the Quilt
Okay, now that we've discussed fabric, let's make the quilt top!
For this quilt top you will need:
- Sixteen 11+" x 13" rectangles
- 1 ¼ yard for backing
- Four 2½" strips (x width of fabric) for binding
(I say 11+" - like 11 ¼" - because if you cut your fabric slightly wider than 11" you will have more room to 'square-up' at the end. But if you can still get by with 11" if you're careful.) Now, cut each block in the same way. Starting at the left, cut off a 3" strip, a 1½" strip, a 2 ¼ " strip and then leave the fat strip at the end.
You can easily stack and cut at least four blocks at a time and you'll be done cutting everything for this quilt in no time.
Now, lay out all of your blocks, mixing and matching the 1 ½" and 2 ¼" strips. Stack each group together and take them to your sewing machine.
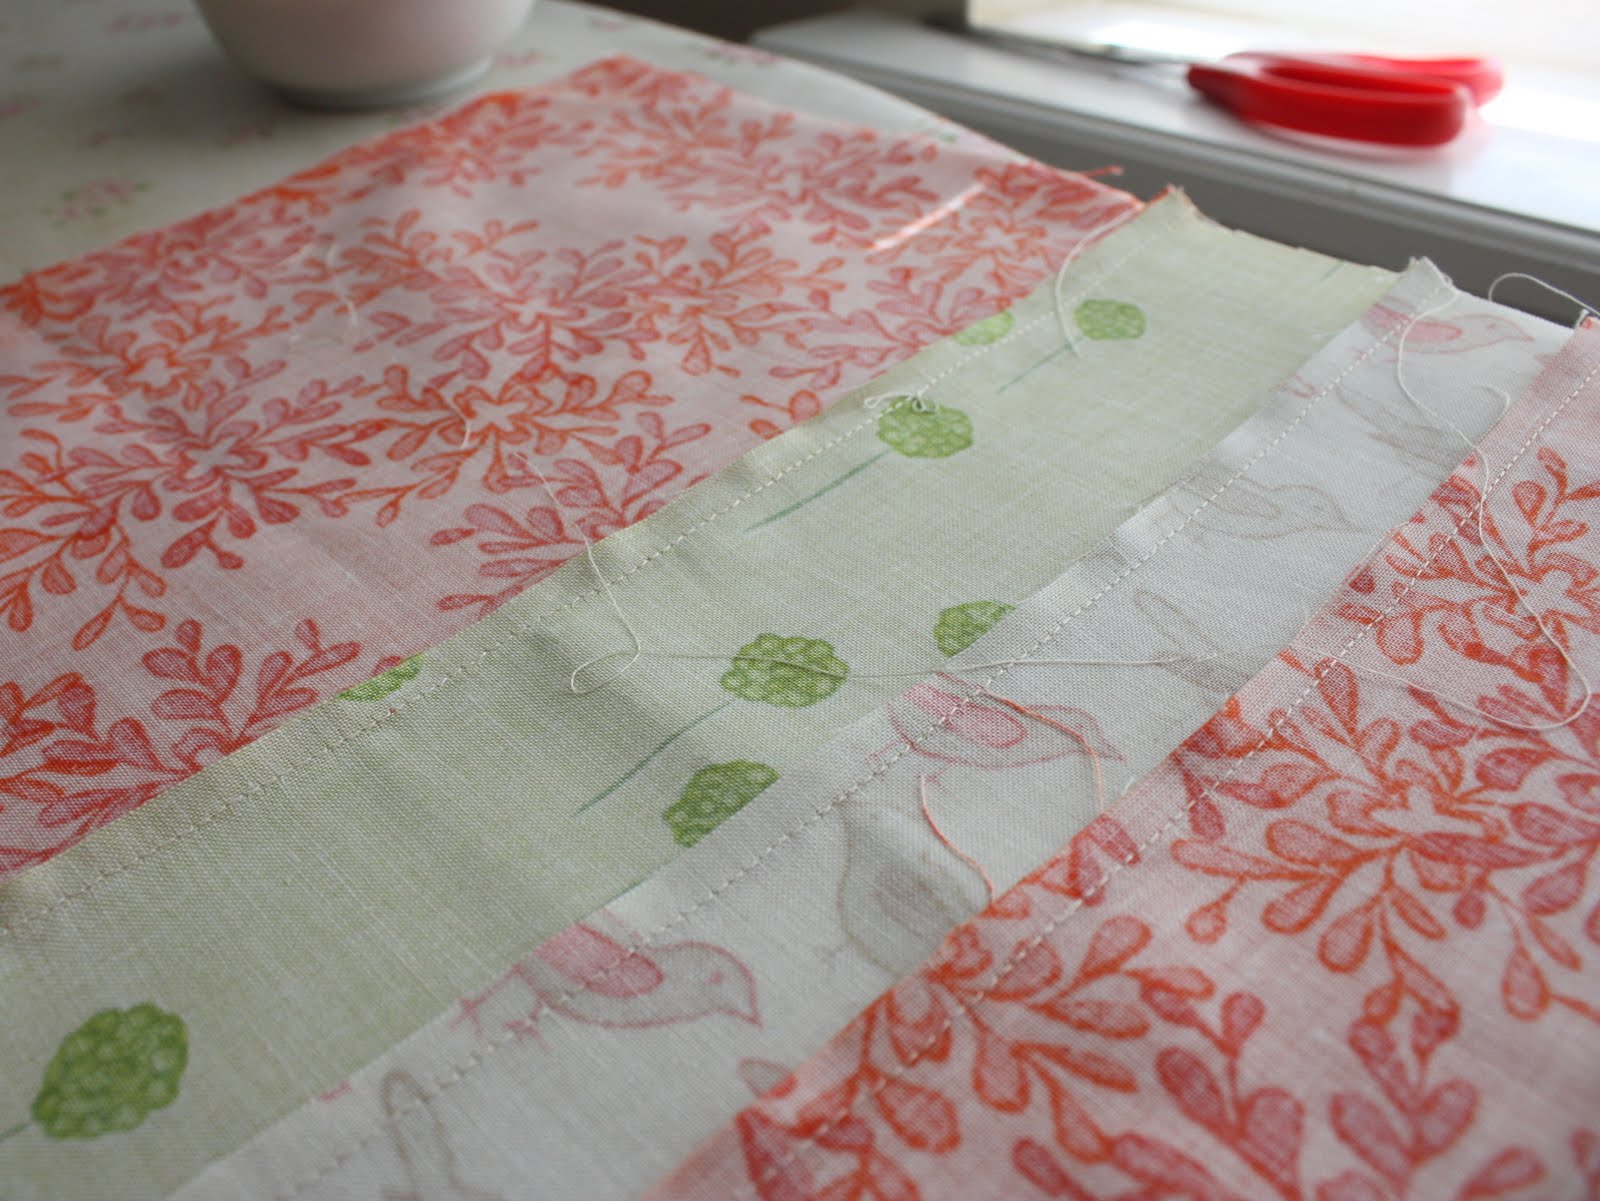
Begin with your 3" strip and put the 1½" strip on top, right-sides together. Sew the strips together using a consistent ¼" seam - usually the right side of the presser foot will work. Here is one of the keys to quilting: Always use a consistent seam allowance. Makes everything match-up nicely. You may have to go slow at first - and that's okay. The more you do it, the faster and more naturally it will come.
Now sew the 2¼" strip and then the remaining large strip that is the same fabric as the first. Repeat for all 16 blocks.
Take all your blocks to the ironing board and press the seams all to one side. Then press from the top to make sure all seams are flat and clean. (This is the second tip for neat looking quilts - don't skip the pressing!)
Now take your nicely pressed blocks back to the cutting mat and trim the edges to create 11" square blocks.
Lay out your blocks, rotating the stripe, until you get a design that is pleasing.
Pick up each row and sew the blocks together 4 across for each of the 4 rows.
When the rows are sewn together, you are going to press the new seams to one side, with the seams going in opposite directions for alternating rows. (This is going to make it easier to sew those rows together and those corners to match-up nicely.)
When you get ready to sew the rows together, pin the seams at the intersecting corners. Make sure the pressed-seams going in opposite directions but up against each other. This will help the corner to match perfectly and not be too bulky. Sew rows together (again using that consistent ¼" seam allowance). Press the finished quilt top from the top.
Voila! You have a simple quilt top finished that fast and easy. You are free to quilt however you choose. For some good machine quilting tutorials check Crazy Mom Quilts or A Quilt is Nice. I love how the quilting finishes a quilt - making it softer and giving it way more personality. AND I love how the quilting hides a lot of the flaws - of which I usually have many!
When you are ready to bind your quilt (the fabric folded over the end of the quilt to cover your raw edges), I can help you with this Quilt Binding Tutorial. Once again, it's SO much easier than it looks. Your friends will be so impressed. Here is another example of a quilt made with a very similar technique. This quilt was made mostly from Heather Bailey's Nicey Jane collection. Notice the variation of print sizes: small, medium, and large as well as the color variation - i.e. not all the pinks are the same shade. This quilt comes from this Off-set Square Pattern tutorial. Here is a picture of a quilt this style for boys.
So here's a simple quilt that you can put together quickly, pulling from that stash to create something that will look cute as well!
TWIN SIZE VERSION
Fabric:
For your pieced blocks at least (16) 1/3 yards of fabric
you can get (3) 11.5" x 13" pieces out of 1/3 yard of fabric (which is roughly a 12" x 42")
5/8 yard binding fabric
5 yards backing fabric
Assemble 48 blocks.
Layout your blocks 6 across by 7 blocks down. These 48 blocks will give you a quilt top that is 63" x 84".
If you want to make it any bigger I would suggest a 5" border all the way around - that would give you a 73" x 94" twin. (If you do this buy 1.5 yards of border fabric and increase your backing to 5.5 yards)
Thanks again, Sarah, for inviting me to contribute! Best wishes to all of you in your sewing-love efforts!
Thank you, Amy! I can't wait to give this design a try!!
Be sure to come back next Sunday, when Annie of Annie's Ruby Slipperz will be our guest blogger!!
Hugs!
Sarah


What a cute and easy quilt design! I am going to be making a quilt for my niece for her to take to college and this might be perfect! I don't want to put too much work into it because it may suffer some abuse, but I do want it to be fun and colorful. Thanks for sharing your tutorial!
ReplyDeleteThanks for the easy and adorable pattern! So many possibilities:)
ReplyDeleteThank you so much Amy. Great tut. I love the look of this quilt. So easy!!
ReplyDeleteThanks for the tut, Amy. Love the pattern. And thank you for your lesson on color, print relations and a place for the eye to rest. Seems like everybody has gone to the "busy" quilt, and forgotten these good design principles.
ReplyDeleteHugs!
Great tutorial, Amy!! Your quilt is so fun and cheery!!
ReplyDeleteI'll have to try one of these. Thank you Amy and Sarah.
ReplyDeletethanks for the great tutorial . I have made a similar quilt , and it does go together quickly . I'm not that good with colors , so I really enjoyed your help and explanation of fabric !
ReplyDeleteGreat tutorial and pattern, thank you for sharing it! I have a lot of big, busy print and never know what to do with it. This looks like a great way to use that without just making "plain old squares."
ReplyDeleteThank you for this tutorial. I think I hear it calling my name. LOL
ReplyDeleteI work at JoAnn's Fabrics and made a deal with myself to learn to quilt this year. I talk with so many quilters and they are so encouraging. So, many, many thanks for the easy-to-follow steps. I am encouraged to begin and think I can do it. Cheers.
ReplyDeleteGreat design! thanks so much for sharing!
ReplyDeleteThis is a fun, fresh design! I really like it.
ReplyDelete